[Tuto02DataServiceBasic] Display an image
The second tutorial represents a basic application that display a medical 3D image.
Prerequisites
- Before to read this tutorial, you should have seen :
Structure
Properties.cmake
This file describes the project information and requirements :
set( NAME Tuto02DataServiceBasic )
set( VERSION 0.1 )
set( TYPE APP )
set( DEPENDENCIES  )
set( REQUIREMENTS
    dataReg
    servicesReg
    gui
    guiQt
    io # contains the interface for reader and writer.
    ioVTK # contains the reader and writer for VTK files (image and mesh).
    visuVTK # loads VTK rendering library (fwRenderVTK).
    visuVTKQt # containsthe vtk Renderer window interactor manager using Qt.
    vtkSimpleNegato # contains a visualization service of medical image.
    fwlauncher
    appXml2
)

bundleParam(appXml2 PARAM_LIST config PARAM_VALUES tutoDataServiceBasicConfig)
Note
The Properties.cmake file of the application is used by CMake to compile the application but also to generate the
profile.xml: the file used to launch the application.
plugin.xml
This file is in the rc/ directory of the application. It defines the services to run.
<plugin id="Tuto02DataServiceBasic" version="@DASH_VERSION@">
<!-- The bundles in requirements are automatically started when this
Application is launched. -->
<requirement id="dataReg" />
<requirement id="servicesReg" />
<requirement id="visuVTKQt" />
<extension implements="::fwServices::registry::AppConfig2">
<id>tutoDataServiceBasicConfig</id>
<config>
<!-- In tutoDataServiceBasic, the central data object is a ::fwData::Image. -->
<object uid="imageData" type="::fwData::Image" />
<!--
Description service of the GUI:
The ::gui::frame::SDefaultFrame service automatically positions the various
containers in the application main window.
Here, it declares a container for the 3D rendering service.
-->
<service uid="mainFrame" type="::gui::frame::SDefaultFrame">
<gui>
<frame>
<name>tutoDataServiceBasic</name>
<icon>@BUNDLE_PREFIX@/Tuto02DataServiceBasic_0-1/tuto.ico</icon>
<minSize width="800" height="600" />
</frame>
</gui>
<registry>
<!-- Associate the container for the rendering service. -->
<view sid="myRendering" />
</registry>
</service>
<!--
Reading service:
The <file> tag defines the path of the image to load. Here, it is a relative
path from the repository in which you launch the application.
-->
<service uid="myReaderPathFile" type="::ioVTK::SImageReader">
<inout key="image" uid="imageData" />
<file>../../data/patient1.vtk</file>
</service>
<!--
Visualization service of a 3D medical image:
This service will render the 3D image.
-->
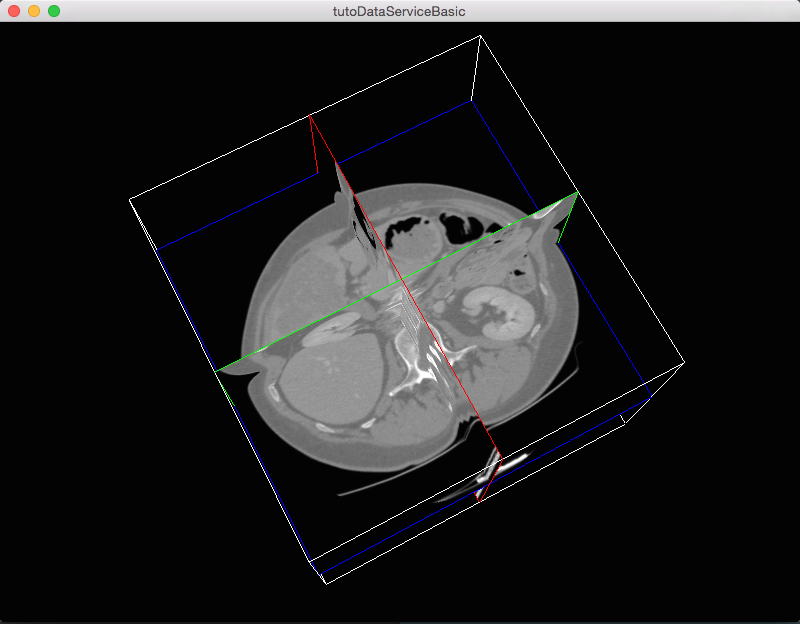
<service uid="myRendering" type="::vtkSimpleNegato::SRenderer">
<in key="image" uid="imageData" />
</service>
<!--
Definition of the starting order of the different services:
The frame defines the 3D scene container, so it must be started first.
The services will be stopped the reverse order compared to the starting one.
-->
<start uid="mainFrame" />
<start uid="myReaderPathFile" />
<start uid="myRendering" />
<!--
Definition of the service to update:
The reading service load the data on the update.
The render update must be called after the reading of the image.
-->
<update uid="myReaderPathFile" />
<update uid="myRendering" />
</config>
</extension>
</plugin>
- For this tutorial, we have only one object
::fwData::Imageand three service: ::gui::frame::DefaultFrame: frame service::ioVTK::ImageReaderService: reader for 3D VTK image::vtkSimpleNegato::SRenderer: render for 3D image
- The order of the elements in the configuration is important:
- <object>
- <service>
- <connect> (see [Tuto04SignalSlot] Signal-slot communication)
- <start>
- <update>
Note
To avoid the <start uid="myRendering" />, the frame service can automatically start the rendering service: you
just need to add the attribute start="yes" in the <view> tag.
Run
To run the application, you must call the following line in the install or build directory:
bin/fwlauncher Bundles/Tuto02DataServiceBasic_0-1/profile.xml